Baïkal is a CalDAV and CardDAV server, based on sabre/dav,
To self hosted your own CalDAV & CardDAV server is one of the first step to better control your data and keep your data, actually, yours!So here comes Baikal which is really easy to setup. That easily you can also configure any device (mobile/tablet/laptop/desktop) to use your baikal instance and synchronize your calendar & contacts everywhere.
In this blog post are some personal notes on installing or upgrading baikal on your web server.
[ The latest version as this article was written is 0.4.1 ]
Change to your web directory (usually is something like: /var/www/html/) and download baikal:
Clean Install - Latest release 0.4.1
based on sabre/dav 3.1.2
You need at least PHP 5.5 but preferable use 5.6.
# wget -c https://github.com/fruux/Baikal/releases/download/0.4.1/baikal-0.4.1.zip
# yes | unzip baikal-0.4.1.zip

# chown -R apache:apache baikal/
That’s it !
Be Aware that there is a big difference between 0.2.7 and versions greater that 0.3.x.
And that is, that the URL has an extra part: htmlfrom: https://baikal.example.com/admin
to : https://baikal.example.com/html/admin
If you already had installed baikal-0.2.7 and you want to upgrade to 0.4.x version and later, then you have to follow the below steps:
# wget -c http://baikal-server.com/get/baikal-flat-0.2.7.zip
# unzip baikal-flat-0.2.7.zip
# mv baikal-flat baikal

# wget -c https://github.com/fruux/Baikal/releases/download/0.4.1/baikal-0.4.1.zip
# yes | unzip baikal-0.4.1.zip

# touch baikal/Specific/ENABLE_INSTALL
# chown -R apache:apache baikal/
I prefer to create a new virtualhost every time I need to add a new functionality to my domain.
Be smart & use encryption !
Below is mine virtualhost as an example:
< VirtualHost *:443 >

    ServerName  baikal.example.com

    # SSL Support
    SSLEngine on

    SSLProtocol ALL -SSLv2 -SSLv3
    SSLHonorCipherOrder on
    SSLCipherSuite HIGH:!aNULL:!MD5

    SSLCertificateFile /etc/letsencrypt/live/baikal.example.com/cert.pem
    SSLCertificateKeyFile /etc/letsencrypt/live/baikal.example.com/privkey.pem
    SSLCertificateChainFile /etc/letsencrypt/live/baikal.example.com/chain.pem

    # Logs
    CustomLog logs/baikal.access.log combined
    ErrorLog  logs/baikal.error.log

    DocumentRoot /var/www/html/baikal/

    < Directory /var/www/html/baikal/ >
            Order allow,deny
            Allow from all
    < /Directory >

< /VirtualHost >
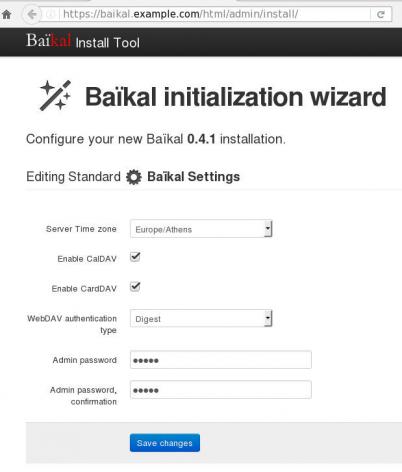
Next step is to open your browser and browse your baikal's location,
eg. https://baikal.example.com/html/
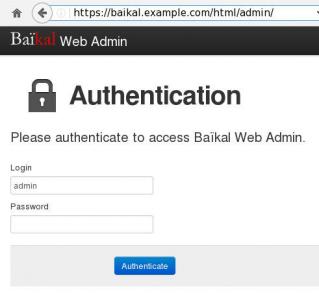
admin interface:
https://baikal.example.com/html/admin/
or
if you have an older version (0.2.7) on your system
eg. https://baikal.example.com
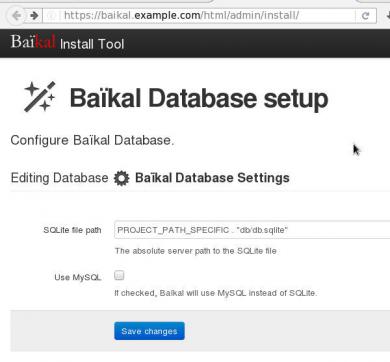
I use SQLite for personal use (makes easy backup process) but you can always choose MySQL .
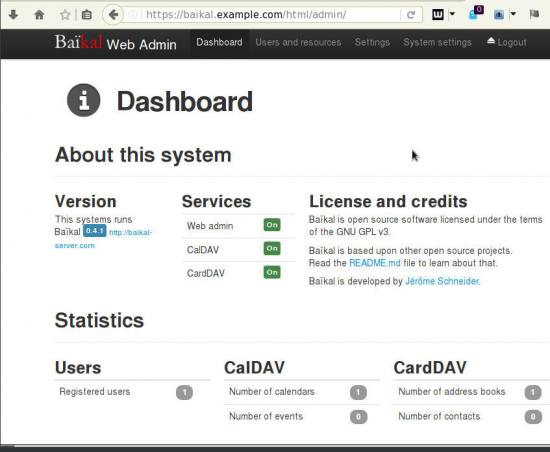
Dashboard on 0.4.1
Useful URIs are:
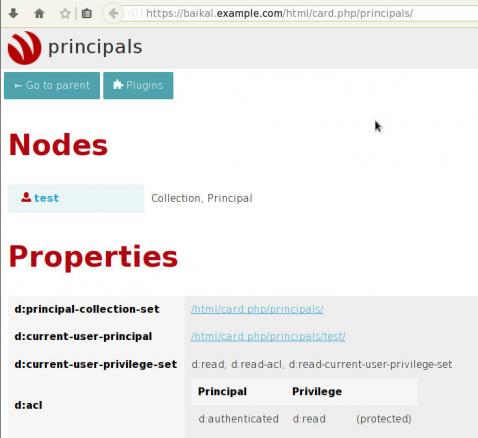
Principals:
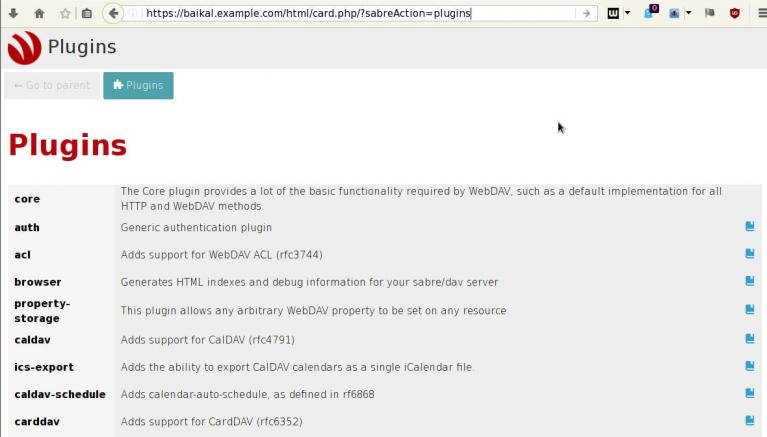
Plugins:
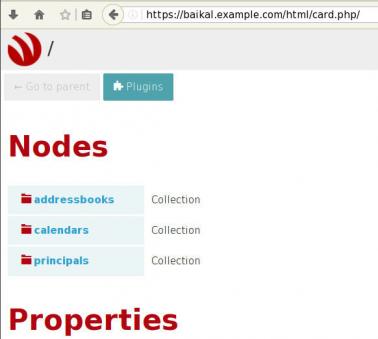
Nodes:
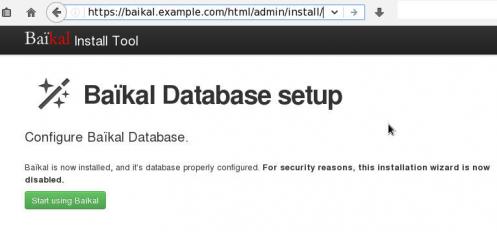
Here is a sceen-guide on latest versions:
Login to the admin dashboard and create your user through
Users and resources tab
and you are done with the baikal installation & configuration process.
Principals
Applications (caldav/carddav and task clients) can now be accessed by visiting principals URI:
https://baikal.example.com/html/card.php/principals
or via dav.php
https://baikal.example.com/html/dav.php
but If your client does not support the above holistic URI, then try the below for calendar & contacts:
CalDAV
https://baikal.example.com/html/cal.php/calendars/test/default
CardDAV
https://baikal.example.com/html/card.php/addressbooks/test/default
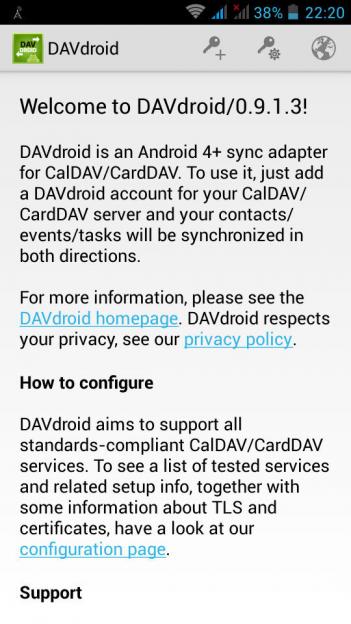
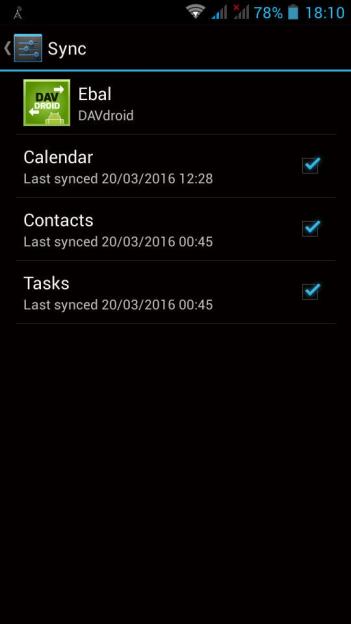
On android devices, I use: DAVdroid
If you have a problem with your self-signed certificate,
try adding it to your device through the security settings.
It seems that android 4.x - and every fork - has a very nice feature: Multi-user external storage. It is awesome! Every app can use a namespace, a mount point that cant share with any other app. It is very useful cause if your kernel mount a storage (network/local) nobody can access it !
More info here
That said, on android you cant use a nfs/cifs mount point. You can mount it as root - but you cant use it. Useful, right ?
And thats why i shall pass the opportunity to buy an android tablet. I prefer to wait for a proper OS - one that i can use.
Extra points: in nexus7 tablet, you cant insmod modules, there is no support for cifs but nfs is working. You cant use the nfs mount point, but it doesnt matter.
To whom dont know what busybox is, plz stop using linux, android or any embedded device.
Step 1. Learn what version of kernel your device has.
my mobile use Marvel (ARMv6) kernel.
Step 2. Download your binary from here download busybox
wget -c http://www.busybox.net/downloads/binaries/latest/busybox-armv6l
Step 3. Copy busybox to your device
adb push busybox-armv6l /mnt/sdcard/
Step 4. Enter your device
adb shell
Step 5. Remount /system with read-write access
mount -o rw,remount /system
cd /system/xbin/
Step 6. Copy busybox to your system xbin dir
cp /mnt/sdcard/busybox-armv6l /system/xbin/
Step 7. Change permissions
chmod 0755 /system/xbin/busybox-armv6l
Step 8. Move your old busybox - dont remove it
cp busybox BusyBox-v1.19.4-cm7
Step 9. replace busybox
# busybox-armv6l cp busybox-armv6l busybox
simple as that !
