Baïkal is a CalDAV and CardDAV server, based on sabre/dav,
To self hosted your own CalDAV & CardDAV server is one of the first step to better control your data and keep your data, actually, yours!So here comes Baikal which is really easy to setup. That easily you can also configure any device (mobile/tablet/laptop/desktop) to use your baikal instance and synchronize your calendar & contacts everywhere.
In this blog post are some personal notes on installing or upgrading baikal on your web server.
[ The latest version as this article was written is 0.4.1 ]
Change to your web directory (usually is something like: /var/www/html/) and download baikal:
Clean Install - Latest release 0.4.1
based on sabre/dav 3.1.2
You need at least PHP 5.5 but preferable use 5.6.
# wget -c https://github.com/fruux/Baikal/releases/download/0.4.1/baikal-0.4.1.zip
# yes | unzip baikal-0.4.1.zip

# chown -R apache:apache baikal/
That’s it !
Be Aware that there is a big difference between 0.2.7 and versions greater that 0.3.x.
And that is, that the URL has an extra part: htmlfrom: https://baikal.example.com/admin
to : https://baikal.example.com/html/admin
If you already had installed baikal-0.2.7 and you want to upgrade to 0.4.x version and later, then you have to follow the below steps:
# wget -c http://baikal-server.com/get/baikal-flat-0.2.7.zip
# unzip baikal-flat-0.2.7.zip
# mv baikal-flat baikal

# wget -c https://github.com/fruux/Baikal/releases/download/0.4.1/baikal-0.4.1.zip
# yes | unzip baikal-0.4.1.zip

# touch baikal/Specific/ENABLE_INSTALL
# chown -R apache:apache baikal/
I prefer to create a new virtualhost every time I need to add a new functionality to my domain.
Be smart & use encryption !
Below is mine virtualhost as an example:
< VirtualHost *:443 >

    ServerName  baikal.example.com

    # SSL Support
    SSLEngine on

    SSLProtocol ALL -SSLv2 -SSLv3
    SSLHonorCipherOrder on
    SSLCipherSuite HIGH:!aNULL:!MD5

    SSLCertificateFile /etc/letsencrypt/live/baikal.example.com/cert.pem
    SSLCertificateKeyFile /etc/letsencrypt/live/baikal.example.com/privkey.pem
    SSLCertificateChainFile /etc/letsencrypt/live/baikal.example.com/chain.pem

    # Logs
    CustomLog logs/baikal.access.log combined
    ErrorLog  logs/baikal.error.log

    DocumentRoot /var/www/html/baikal/

    < Directory /var/www/html/baikal/ >
            Order allow,deny
            Allow from all
    < /Directory >

< /VirtualHost >
Next step is to open your browser and browse your baikal's location,
eg. https://baikal.example.com/html/
admin interface:
https://baikal.example.com/html/admin/
or
if you have an older version (0.2.7) on your system
eg. https://baikal.example.com
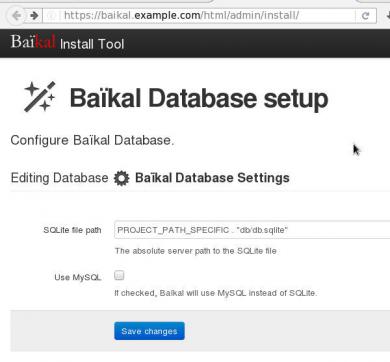
I use SQLite for personal use (makes easy backup process) but you can always choose MySQL .
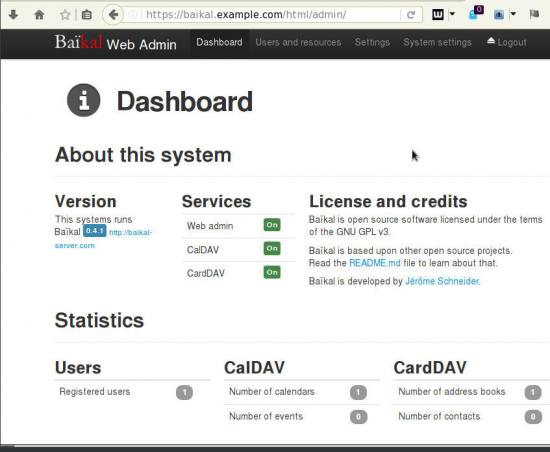
Dashboard on 0.4.1
Useful URIs are:
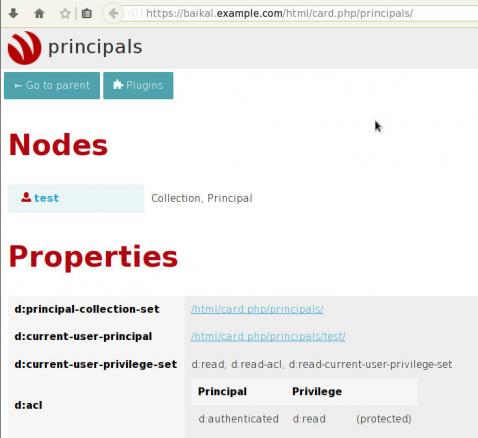
Principals:
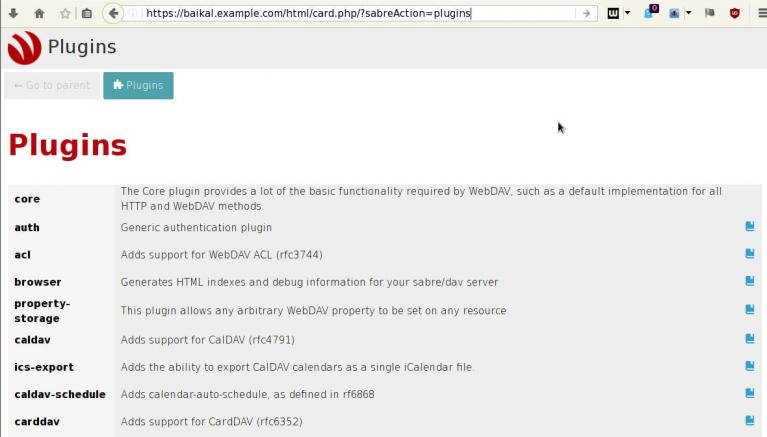
Plugins:
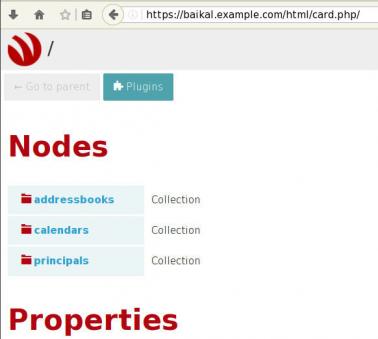
Nodes:
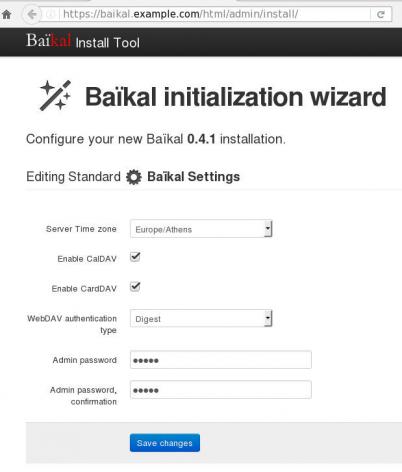
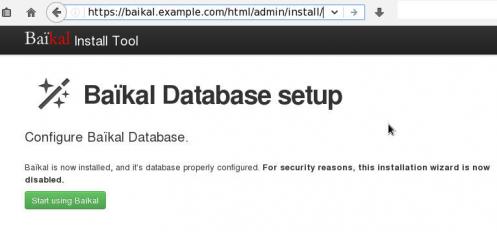
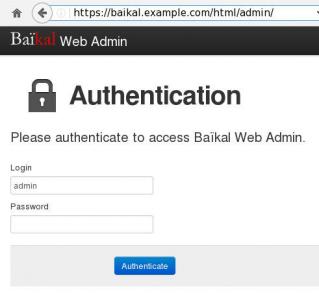
Here is a sceen-guide on latest versions:
Login to the admin dashboard and create your user through
Users and resources tab
and you are done with the baikal installation & configuration process.
Principals
Applications (caldav/carddav and task clients) can now be accessed by visiting principals URI:
https://baikal.example.com/html/card.php/principals
or via dav.php
https://baikal.example.com/html/dav.php
but If your client does not support the above holistic URI, then try the below for calendar & contacts:
CalDAV
https://baikal.example.com/html/cal.php/calendars/test/default
CardDAV
https://baikal.example.com/html/card.php/addressbooks/test/default
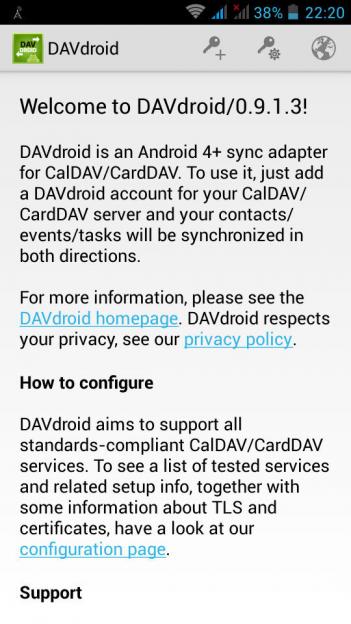
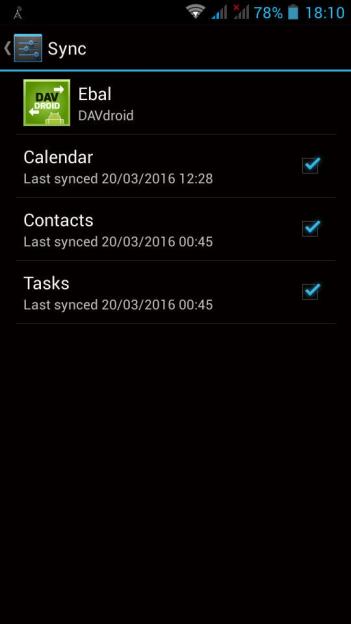
On android devices, I use: DAVdroid
If you have a problem with your self-signed certificate,
try adding it to your device through the security settings.
I’ve started a new project with bottle.py and had some hiccups with static files and templates.
My project layout is (something) like that:
/

    app.wsgi
    bottle.py

    static/
        static/css
            static/css/bootstrap-theme.min.css
            static/css/bootstrap.min.css
        static/img
            static/img/logo.png
        static/js
            static/js/bootstrap.min.js
            static/js/npm.js
            static/js/tab.js
            static/js/jquery-1.12.1.min.js

    views/
        views/search.tpl
        views/index.tpl
        views/header.tpl
        views/footer.tpl
my app.wsgi is looking something like (dynamic routes & templates):
@bottle.route('/')
@bottle.route('/< action >/< name >')
def main(action='/',name=None):
    if ( action == '/' ) :
        return template("index", title=" some title ")
    else:
        return template(action, title=" some title ", name=name)

application = bottle.default_app()
I can translate every REST request to a new template and use AJAX inside the templates.
But what-about static files like stylesheets and javascripts ?
eg.
< script src="jquery-1.12.1.min.js"> < / script>
< img src="logo_hp.png" >
When working with dynamic routes (or any routes in bottle) unless you are using the main app.wsgi everything else will be translated to something like:
GET /search/jquery-1.12.1.min.js
GET /view/jquery-1.12.1.min.js
etc
If you noticed the layout then somehow we need to map all static files (css,js,images) to our static folder. We can map static files from "/" with the code below:
@bottle.get('< filename:re:.*.js >')
def static_js(filename):
    return static_file(filename, root='static/js')

@bottle.get(' < filename:re:.*.css > ')
def static_css(filename):
    return static_file(filename, root='static/css')

@bottle.get(' < filename:re:.*.png > ')
def static_img(filename):
    return static_file(filename, root='static/img')
Ok, that worked for the initial route (index page) but what about all the other templates & requests?
The solution was really (really) very very simply, even if it took me a couple hours to figure it out!!
I just needed to add a forward slash in front of every static file:
< script src="/jquery-1.12.1.min.js"> < / script>
< img src="/logo.png" >
and the GET request becomes:
"GET /jquery-1.12.1.min.js
and we can now route the static files to our static file directory.
I spent a lot of time on commute, so the last year I’ve spent a lot of time listening to podcasts and audio books!
Here are the latest books (in random order) I’ve heard:

Little Brother by Cory Doctorow

Information Doesn’t Want to Be Free by Cory Doctorow

The Hitchhiker’s Guide to the Galaxy (radio edition) by Douglas Adams
debootstrap is a very powerful tool that most of debian/ubuntu people already know about.
It’s really super easy to create your own basic debian docker image, even if you are not running debian.
I used the below steps to my archlinux box, but i believe are generic and you can also use them, without any effort.
Step One:
Download and prepare debootstrap
# wget -c http://ftp.debian.org/debian/pool/main/d/debootstrap/debootstrap_1.0.77.tar.gz
# tar xf debootstrap_*.tar.gz
# cd debootstrap

# sed -i -e 's#/usr/share/debootstrap#.#' debootstrap
Step Two:
debootstrap a new sid (unstable) debian:
# mkdir sid

# ./debootstrap --arch amd64 --include=aptitude  sid sid/
Step Three:
Just to be safe, extract debian packages with ar
# cd sid

# for i in `ls -1 var/cache/apt/archives/*deb`; do ar p $i data.tar.xz | tar xJ ; done
# for i in `ls -1 var/cache/apt/archives/*deb`; do ar p $i data.tar.gz | tar xz ; done
# rm -rf var/cache/apt/archives/*deb
Step Four:
Prepare your debian unstable directory.
eg. create the sources.list file
# cat > etc/apt/sources.list << EOF
> deb http://ftp.gr.debian.org/debian unstable main contrib non-free
> deb http://ftp.debian.org/debian/ Sid-updates main contrib non-free
> deb http://security.debian.org/ Sid/updates main contrib non-free
> EOF
Step Five:
Dockerized your debian image:
# tar -c . | docker import - debian:sid
cdf6f22b76f23fa95ae2d5858cec4546086a2064b66cf34b937bc87c83f13c91

# docker images
REPOSITORY          TAG                 IMAGE ID            CREATED             VIRTUAL SIZE
debian              sid                 cdf6f22b76f2        5 seconds ago       291.3 MB
You are now ready to play with your new image:
# docker run -t -i --rm debian:sid bash
I have no name!@f3ee67226a07:/#
Some time ago, I wrote this article: How to create an archlinux docker image from the latest bootstrap but I think the below approach is even better.
Step 0
This step is optional.
If you want to reduce the size of the docker image:
# vi /etc/pacman.conf
and add the below lines:
NoExtract = usr/lib/firmware/*
NoExtract = usr/lib/modules/*
NoExtract = usr/share/locale/*
NoExtract = usr/share/man/*
Step 1
Create the latest archlinux on a temporary directory:
# mkdir -pv /tmp/latestarchlinux/var/lib/pacman
# pacman -Syy -r /tmp/latestarchlinux/
# pacman -S base -r /tmp/latestarchlinux/ --noconfirm
Step 2
dockerized the above directory
# cd /tmp/latestarchlinux/
# tar -c . | docker import - archlinux:latest
99a9d7cd2e357f2463b4bb8f3ad1e8bea4bfc10531dfac1931004405727bf035
Step 3
Actually you ‘ve done !
Just play with it already.
# docker run -t -i --rm archlinux:latest bash
[root@de9b7a1d6058 /]#
I am not trying to resolv this issue, I have lost any faith on sourceforge a long time ago.
Although, it is sad. Once, if you wanted to download free software for your linux machine, SF was the place to be.
Nowadays the site is awful. You cant even browse the site if you dont use an ad-blocker.
It is chaotic with all these features and extremely painful if you actually try to do something, even if it is the simplest thing like changing your email address.
This post is just a personal rant about SF subscriptions and nothing more.
I have changed my email address on sourceforge for about a year now. Still I am getting subscription notifies from projects to my previous (deprecated) mail address:
…. so …. yes …
by clicking on the “Manage your subscriptions” link on the bottom of the notify email:
seems that I dont have any project subscriptions !
And that’s not even the big issue here, cause I do want to get notifies whenever SystemRescueCD do updates.
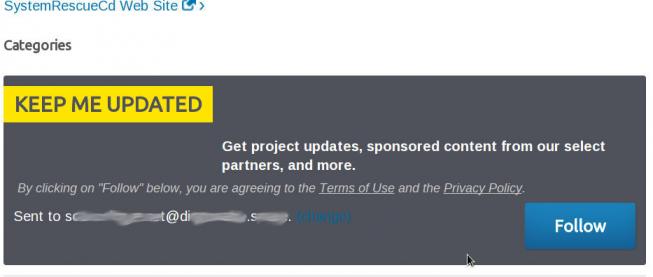
The big issue, for me at least, is when I tried to subscribe on SystemRescueCD (thinking that at least now the notifies will come to my new email address):
If you missed it, the problem is with this quote below:
sponsored content from our select partners, and more
sourceforge simple dont get it !
